During the back-to-school season, an organizer is a must-have. Now think about the hard-earned money that you would have to spend for something you would only be able to use for a single school year. And on top of that, it will probably be some boring color that doesn’t match your aesthetic whatsoever. *Ugh*
But what if, instead of buying a boring, and not to mention, expensive, store-bought organizer, you could make an adorable, and affordable one yourself!
Supplies:
A cereal box
Scissors
Paper
The adhesive of your choice
Crayons, colored pencils, or markers to decorate and label the organizer.
A ruler or any kind of straight edge
Instructions:
Collect all materials. Yes, I know this seems obvious, but it is a crucial step.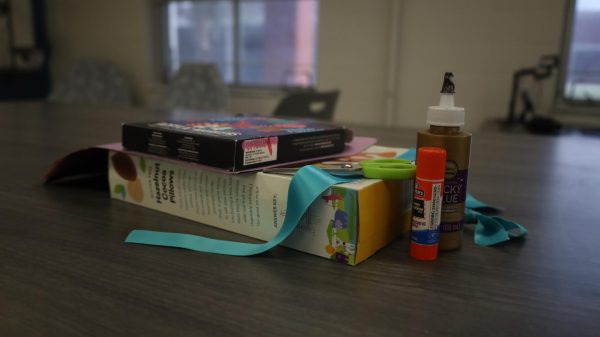
Cut the tabs off the open side of the box. This should create an open end in the box.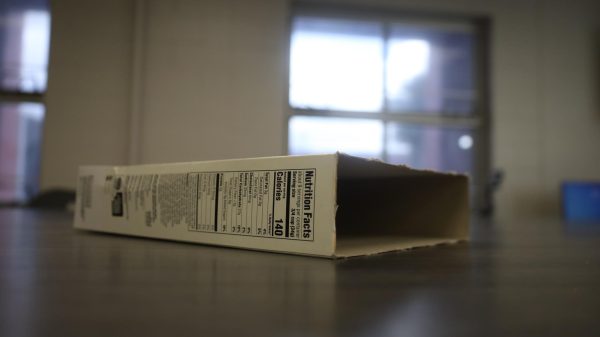
Take the ruler and cut a diagonal line. Depending on the size of your box, it should be about two to three inches from the top left corner. Cut a straight line across the side, and the same line as the front on the back.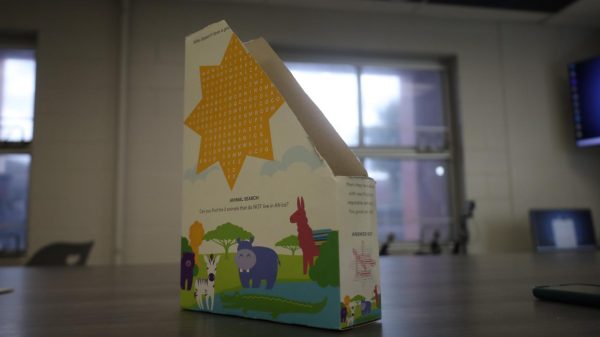
Using your adhesive (I chose a glue stick), take your paper (I used construction paper), and stick it onto the box, in order to cover the whole surface of the box. 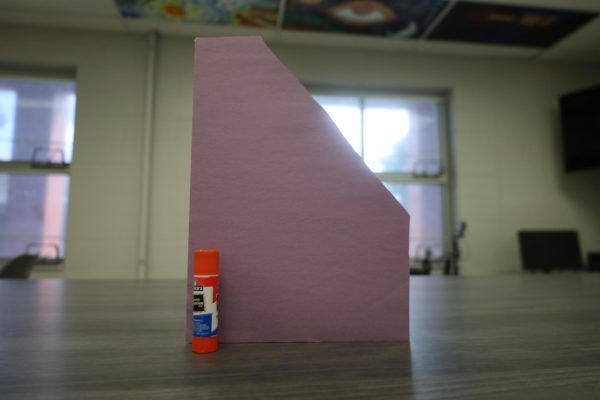
Lastly, decorate your box to your liking. I used paint markers so they stand out well on my box, but you can use anything you want to color and label it to your liking.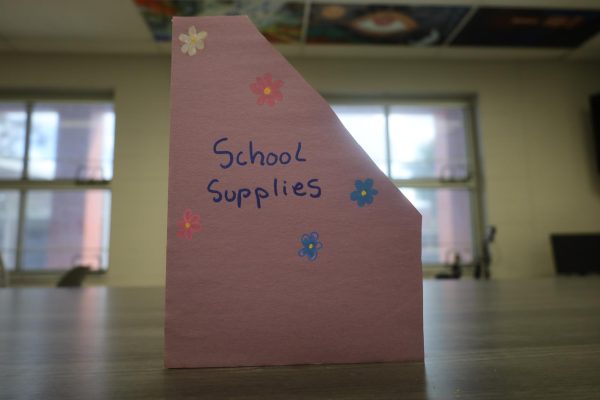
Bonus Idea to upgrade your organizer even more, you can use ribbons to add bows or trim. Staples or any sort of heavier-duty glue work for ribbons. I’m using tacky glue.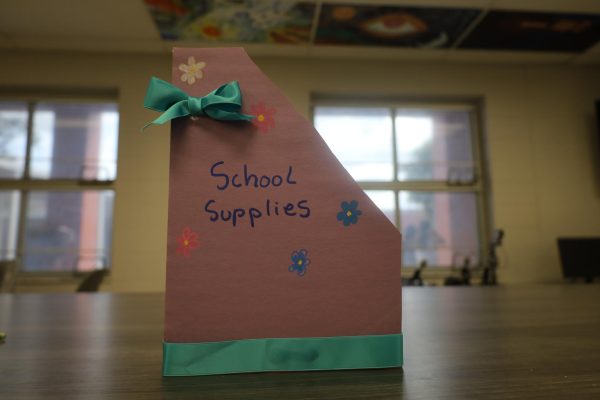
You did it! You have your own personalized, one-of-a-kind organizer that is not just super cute, but also great for your wallet. Now go on and gather your pens, pencils, and whatever else needs a home, and you are ready to tackle this school year in style!