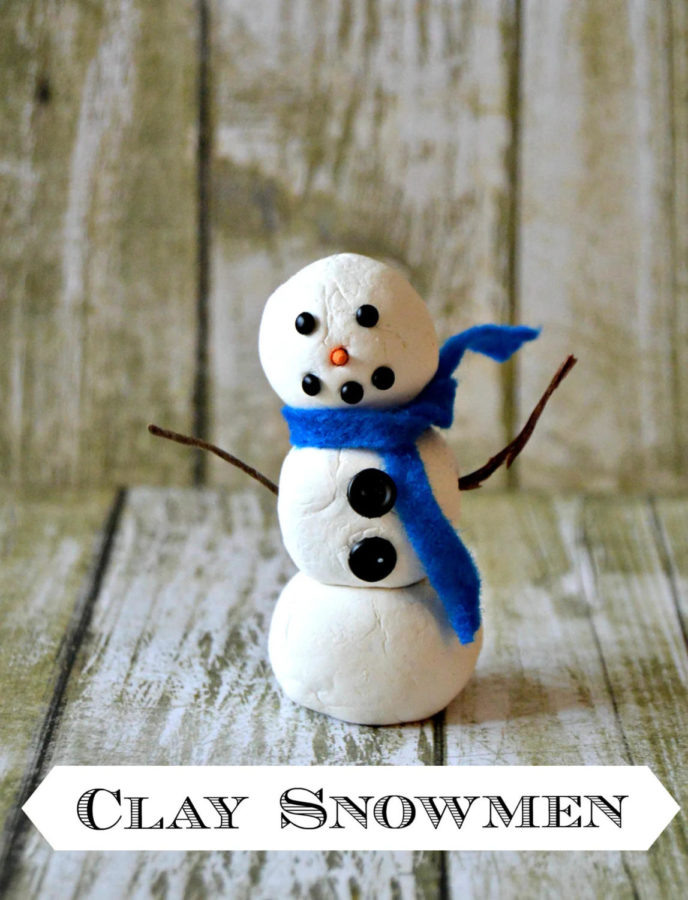
photo by amylattacreations.com
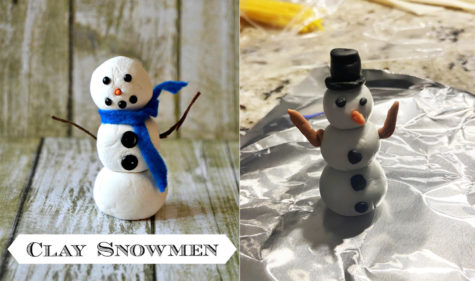
Clay figures

Materials:
- Clay
- Cooking tray
- Aluminum foil

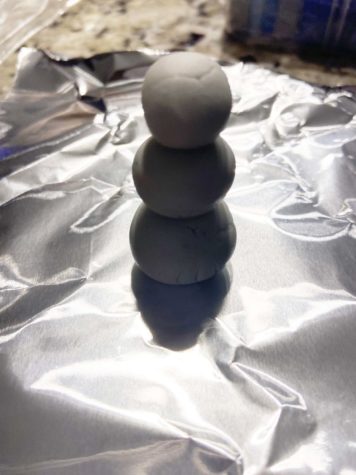
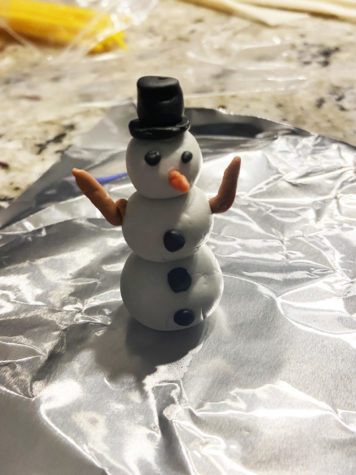
First start by cutting a couple small pieces of white clay. Then begin to roll the clay into three different balls that are different sizes to form the body of the snowman.
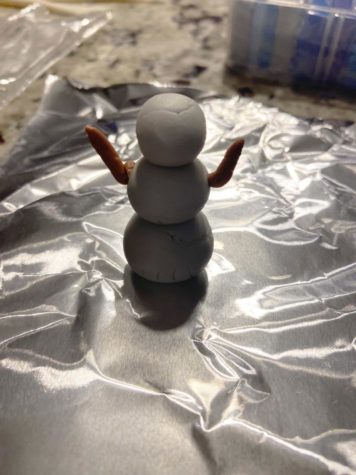
Then cut two small pieces of your brown clay. Roll them into lines, give them a little bend then place them on the body of your snowman.
Using the black clay, then form the three buttons of the snowman, the hat and the eyes. Finally using a little piece or orange rolled clay, form the nose of the snowman and place it on his face.
NAILED IT This was definitely one of the easiest DIYs we did. It took us 10 minutes to finish making the snowman, then an additional 20 in a 266 degree oven. The hardest part of this was trying to make sure the clay did not stick to your or the table when making any of the forms, but besides that there was no difficulty. We already had everything we needed, making it cost nothing for us, but for those who do not have clay, it can be easily bought on Amazon for $8.99. With a low cost and how easy it is, this is a fun holiday craft that anyone can do, not just the Pinterest moms.